Intro to ARKit in Unity with a simple tutorial
For the world to be interesting, you have to be manipulating it all the time
Brian Eno
Intro to the Apple Augmented Reality framework ARKit
ARKit is the Augmented Reality Framework for Apple devices which enables developers to create Augmented Reality Apps for iPhone & iPad. It was introduced along with iOS 11 during WWDC 2017.
Anyone using an iOS device that runs on Apple's A9 to A12 Bionic processors (& running iOS 11 or above) can use ARKit apps.
The current version is ARKit 2.0 and a new version of ARKit should be out soon, and an update is awaited at the WWDC 2019.
How World Tracking Works
To create a correspondence between real and virtual spaces, ARKit uses a technique called visual-inertial odometry.
This process combines information from the iOS device’s motion sensing hardware with computer vision analysis of the scene visible to the device’s camera.
ARKit recognizes notable features in the scene image, tracks differences in the positions of those features across video frames, and compares that information with motion sensing data.
The result is a high-precision model of the device’s position and motion. This process can often produce impressive accuracy, leading to realistic AR experiences. However, it relies on details of the device’s physical environment that are not always consistent or are difficult to measure in real time without some degree of error.
Create your first ARKit application.
In this tutorial, we are going to build a simple AR app in Unity using ARKit 2.0 image tracking feature
Pre-Requisites are:
- iOS 12 or later on our device
- Xcode 10 or later on our Mac (free download from the App Store)
- The Unity Engine (the free version is fine)
In this tutorial I will show how to create an simple AR application for your iPhone or iPad in Unity and Xcode. For this you would need a picture both in digital format and printed (to be recognized by your iOS device). And three small mp4 videos in size of max 24Mb each.
Install ARKit
ARKit needs to be imported into Unity.
Go to this link:
https://bitbucket.org/Unity-Technologies/unity-arkit-plugin/downloads/
and download the ARKit 2.0 installer.

The image detection feature was introduced already in ARKit 1.5 but did not track the image, it would just trigger the AR experience. Now in ARkit 2.0, you can track the position of image targets as well. If you move the image target any overlay that you have on that image target, whether it's a model or a video, will move along with the image.
Open Unity
Let's open the unzipped downloaded folder with Unity Hub. I am using Unity 2018.3.11f1
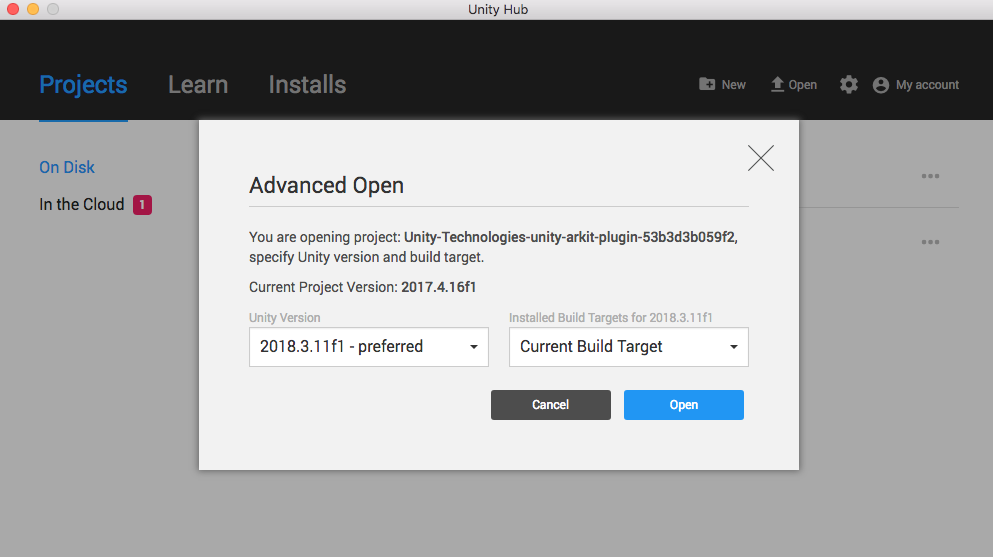
Click on "Upgrade":

Open the folder UnityARKitPlugin and the Examples folder. In the screenshots, your Unity might look different. Look for the assets folder in your Project Tab.
Open the folder ARKit1.5 and the UnityARImageAnchor. In this folder double click on the UnityARImageAnchor scene. The Scene will open in the hierarchy panel and screen.
Open the 'ReferenceImages' folder Drag the image you want to use as an image-trigger in the ReferenceImages folder:
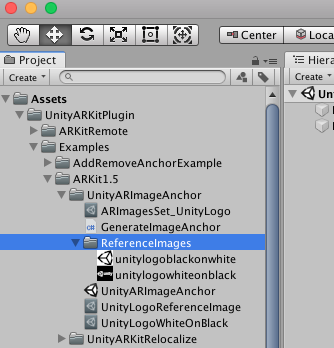
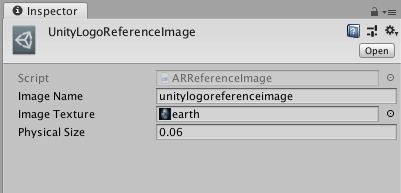
Now go up once in the Folder Hierarchy and click on UnityLogoReferenceImage which is part of the Unity demo. We gonna change the trigger image.
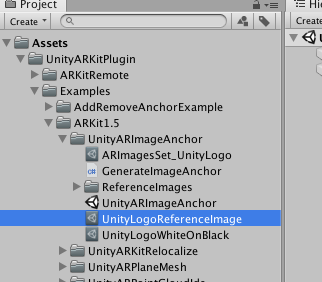
Drag and drop your image from the ReferenceImages folder to the Image Texture field in the Inspector.
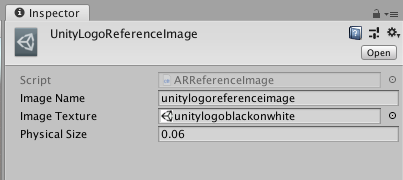
In my case, the image is called earth.
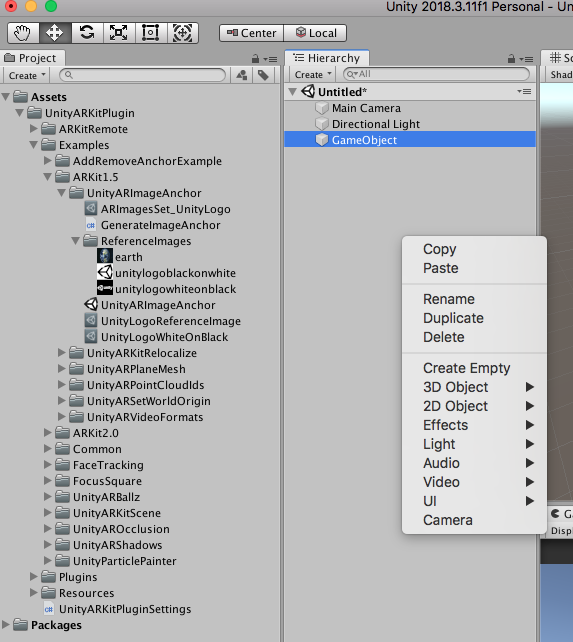
Right-click in the hierarchy and select “Create Empty”. You get a Game Object folder. Rename it to “parent”.
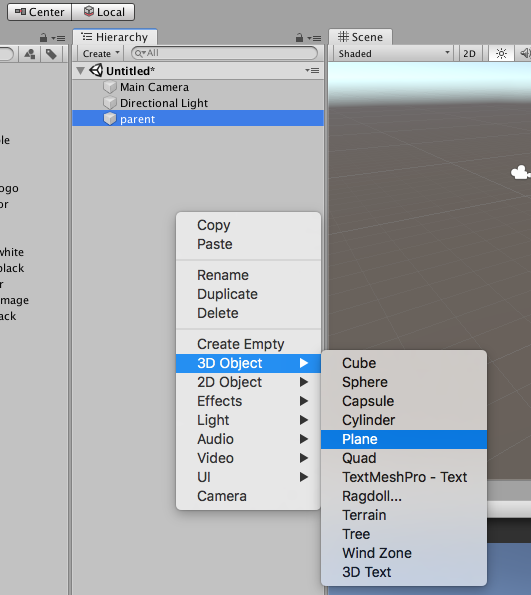
Right-click again in the Hierarchy tab and select 3D object and Plane
It looks like this.
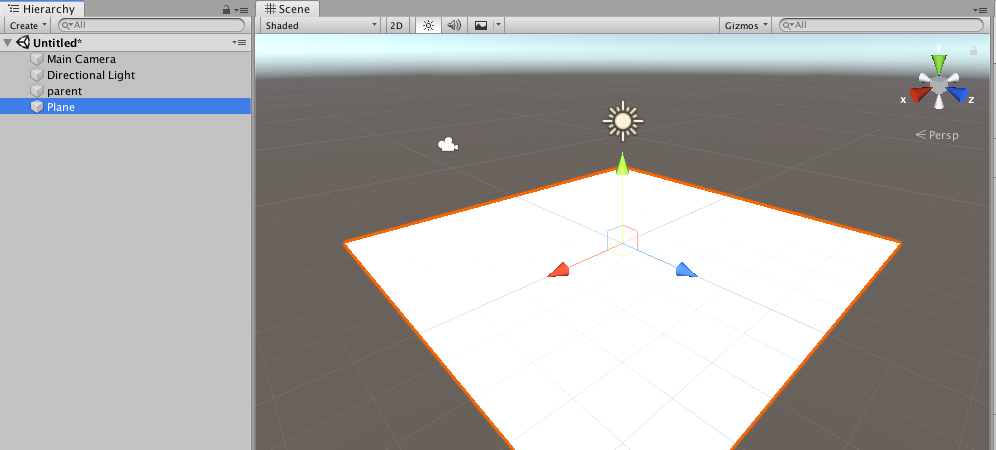
Rename Plane to image in the hierarchy
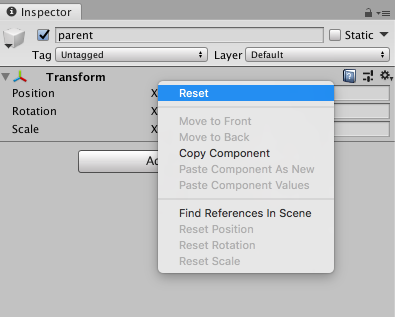
Reset the position for Plane and parent to 0
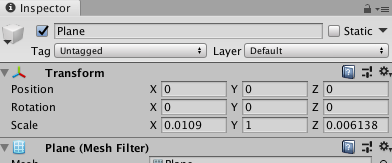
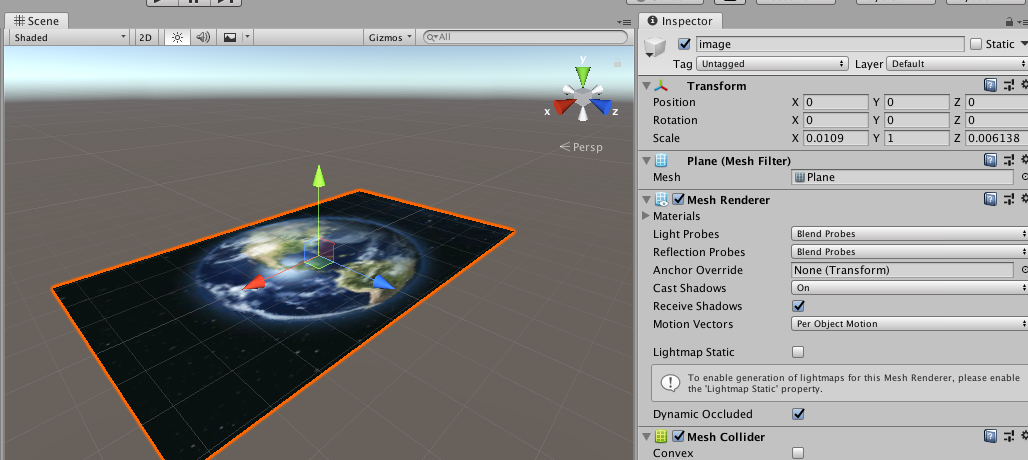
Measure the actual real dimension of your image an input it in the scale property Remember they are in meter, so the x will be ex 0.0109 and the z 0.006138
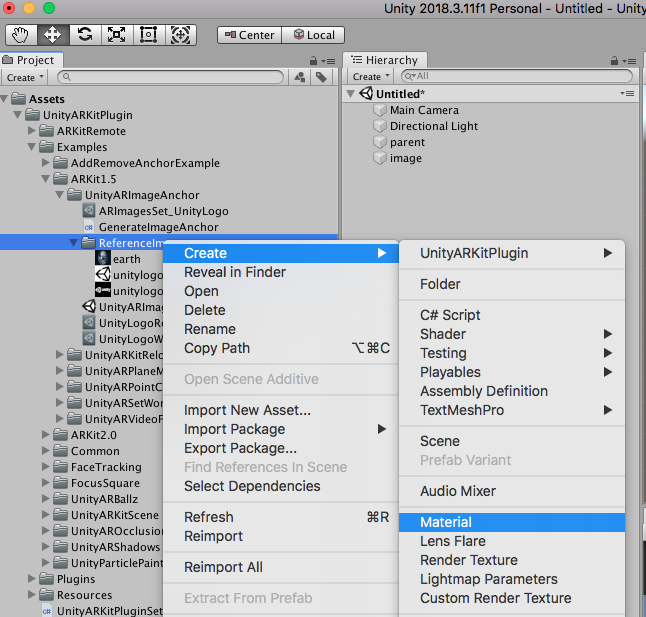
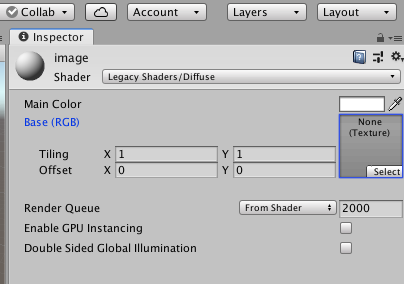
In the ReferenceImages folder right click and create a material for the card and name it image
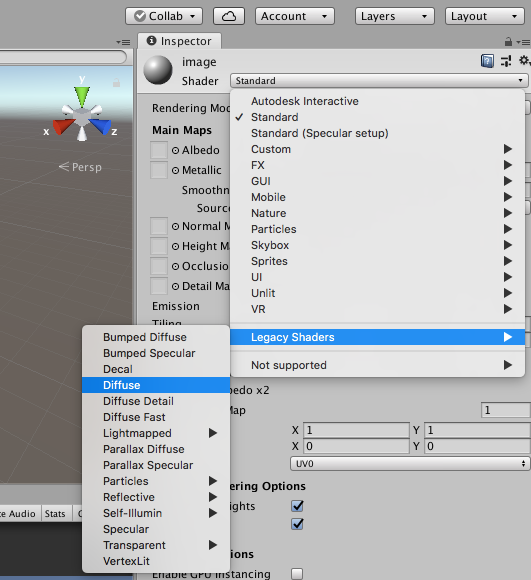
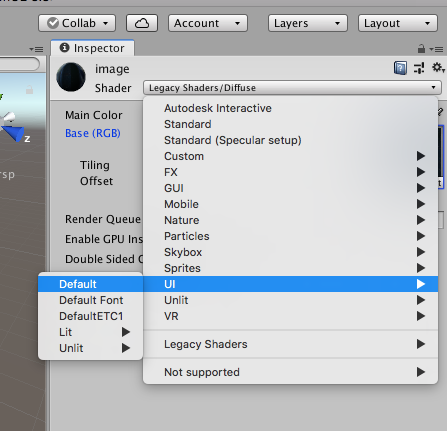
In the inspector go to legacy shader/ diffuse
Click in the right square texture.. select the image from the popup window
And from the scroll down UI/ default
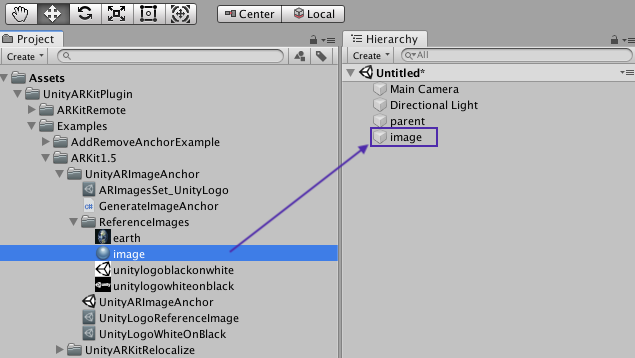
Now drag the material called image to the image in the hierarchy.
The image selected as image trigger will be visible in the scene on the plane.
This is how it looks like for me. You can rotate or change things in the inspector if you need...
Drag the image inside the parent
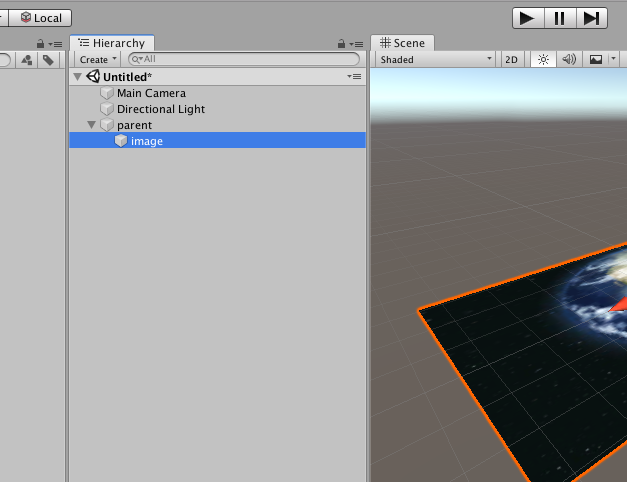
And duplicate this. It is command-D on the Mac to duplicate. They will be one on top of the other so click in the Scene and drag them to where you need them.
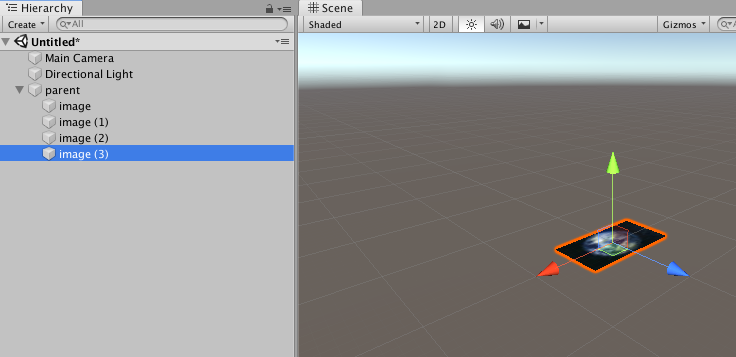
It will look like this now
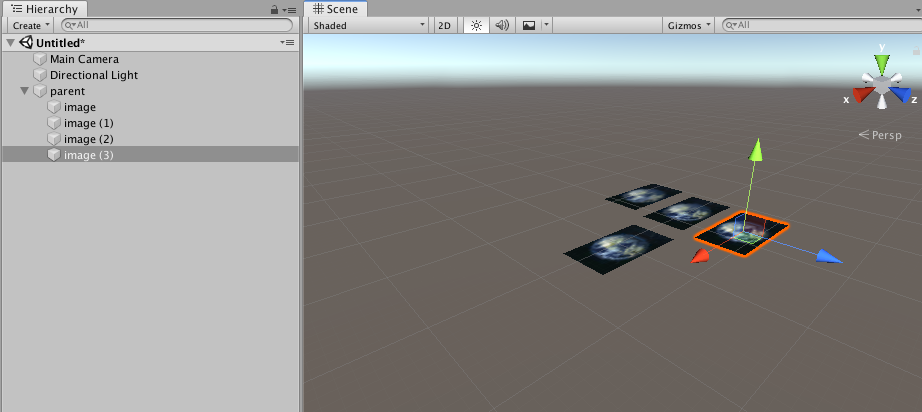
The first will be our trigger image. And then there would be the three videos which will play and move along with the image. Let's attach three videos to these three new planes. Rename them as "1", "2", "3" for instance.
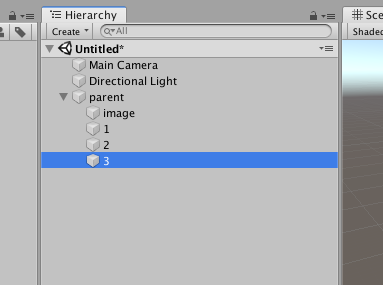
and drag the three videos to the ReferenceImages folder. And then one by one from the folder to the three planes 1,2, and 3 you just created.
If you click play you should see the three videos playing
Now drag the parent folder from the hierarchy to the assets and automatically a prefab will be created.
Delete the parent folder from the hierarchy.
Select "GenerateImageAnchorCube" in the hierarchy. You need to drag the prefab we just created to the "prefab to generate" field of "GenerateImageAnchorCube" in the inspector view.
Build the project in Unity
- go to file -> build settings,
- You want to edit your bundle id if not already done. click on "Player Settings" in the "Build Settings" window ( bottom left). It will open a new window and the "Bundle Id" will be under "Other Settings"
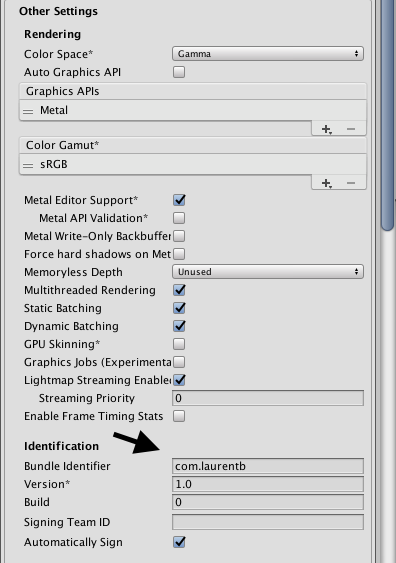
- switch to the iOS platform
- click on add open scenes
- build and save.
This will create an Xcode build.
Open the build in Xcode
Open the Unity project build in Xcode and go to images in the assets folder. Go to resources and click on your image. Change the size to cm and the dimension of our physical image. Select your team in General, and make sure that the deployment target is 12.0
Choose the device and run and install the app.
Sources and links:
This tutorial has been inspired by the excellent Video tutorial by Parth Anand
About ARKit - The Verge (July 2017)
Use of ARKit and Procreate App for iPad https://twitter.com/jaromvogel
I’ve seen a bunch of ARKit demos that made me think “That’s very cool”. This was the first one that made me think “That’s very useful” https://twitter.com/madewitharkit
AR Apps for the iPhone / iPad
The App Store offers a curated section to highlight the best AR experiences. Just tap on Apps and scroll down to Top Categories. AR Apps is at the top.
The Ikea App has been one of the first demos for ARKit.
And this is the official apple page for ARKit developers: https://developer.apple.com/arkit/